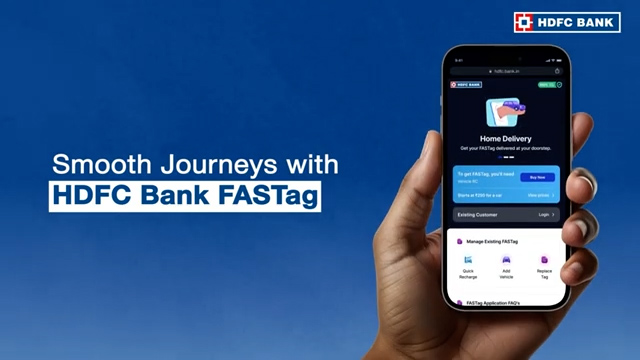
If you want a FASTag that’s easy to manage and delivered to your address, HDFC Bank FASTag online application is a straightforward flow. Based on your screenshots, the process happens on the HDFC Bank FASTag web journey (hdfcbank.in) and includes OTP login, customer-type selection, RC upload, vehicle addition, wallet loading, UPI approval, and tracking via reference number.
What You’ll Need Before You Start
Keep these ready:
- Mobile number (OTP will be sent here)
- PAN
- RC (Registration Certificate) file/photo in JPEG/PNG/PDF
- A working UPI app (to approve payment)
- Delivery address details (new customers will enter these)
Step 1: Open the FASTag Application Page
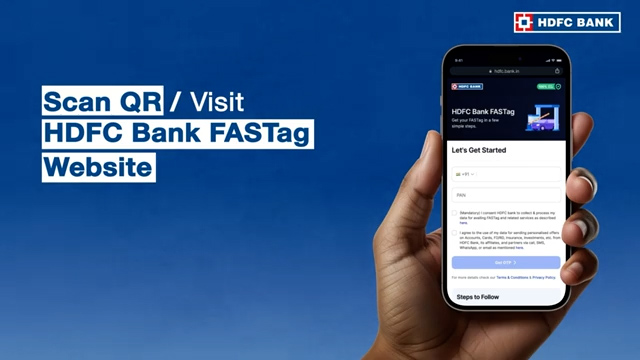
Start by scanning the QR (if available) or opening the HDFC Bank FASTag website. You’ll land on a “Let’s Get Started” form.
Step 2: Enter Mobile Number and PAN
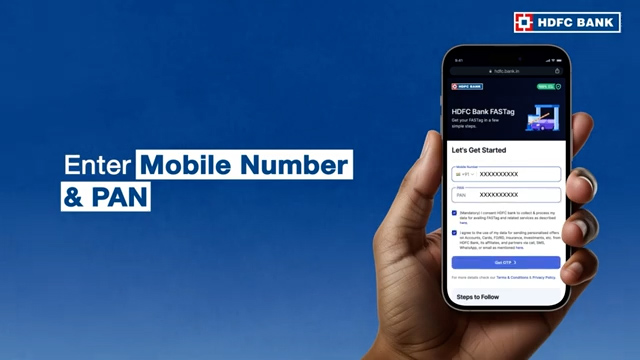
Here you fill:
- Mobile number
- PAN
This is the entry point for the application journey.
Step 3: Verify OTP (Login/Authentication)

After entering mobile + PAN, the website asks for OTP verification.
You’ll:
- Enter OTP
- Submit to proceed
This step ensures the application is tied to your verified mobile number.
Step 4: If You’re an Existing Bank Customer
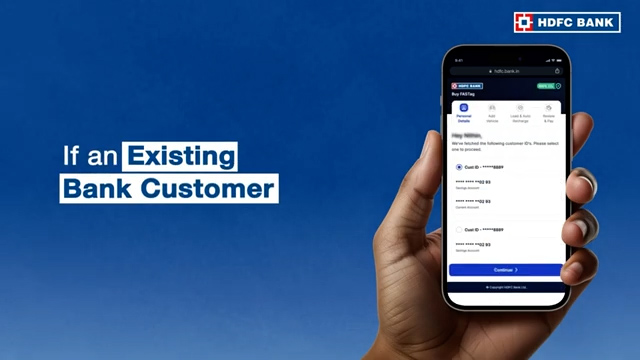
This screen shows a selection list (accounts/relationships) and a Continue button.
Meaning:
- Existing HDFC Bank customers can select their profile/account
- Continue to move forward faster
Step 5: Personal Details Auto-Filled (Existing Customers)
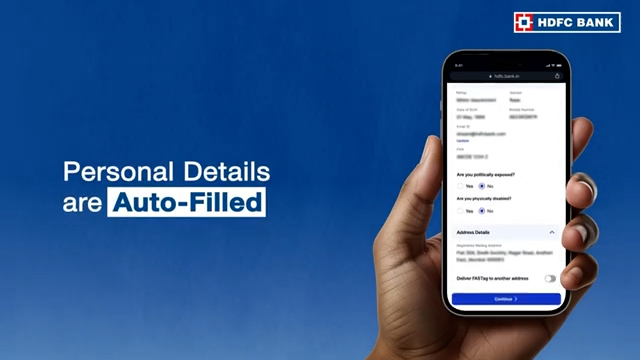
Once you’re recognized as an existing customer, personal details appear filled.
The visible form also includes additional checks like:
- Basic personal info already present
- Questions like politically exposed / physically disabled
- Address section and a toggle option like Deliver FASTag to another address (visible in the form)
Then you tap Continue.
Step 6: New Customers — Fill Personal Details Manually
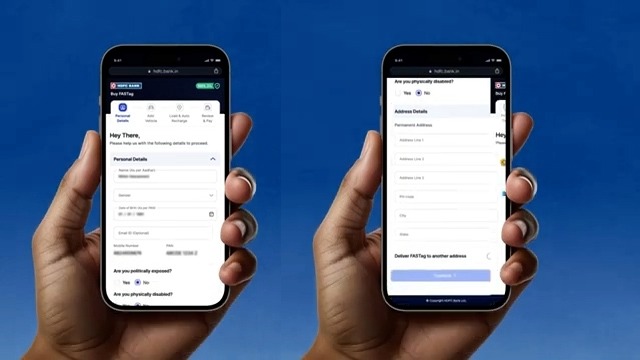
If you’re not an existing customer:
- You will fill Personal Details
- Then fill Address Details (multiple address lines, city, PIN etc. as shown)
This is the main difference between existing vs new customers.
Step 7: Choose How to Add Details (Auto-Fetch vs Manual)
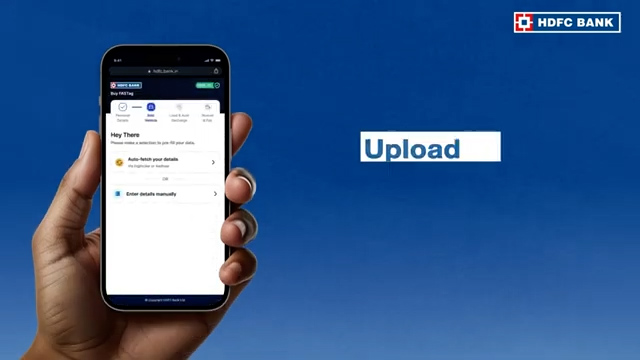
This is an important screen in your screenshots: it offers two paths:
- Auto-fetch your details (recommended for speed)
- Enter details manually (if auto-fetch isn’t working or details differ)
After choosing, you move to document upload.
Step 8: Upload RC (JPEG/PNG/PDF)

The UI shows a camera/document capture style screen, indicating you can:
- Upload a file
- Or capture RC image (depending on device)
Then continue.
Tip: RC photo should be clear, well-lit, and all text visible.
Step 9: Vehicle Info Auto-Fetched (After RC Upload)
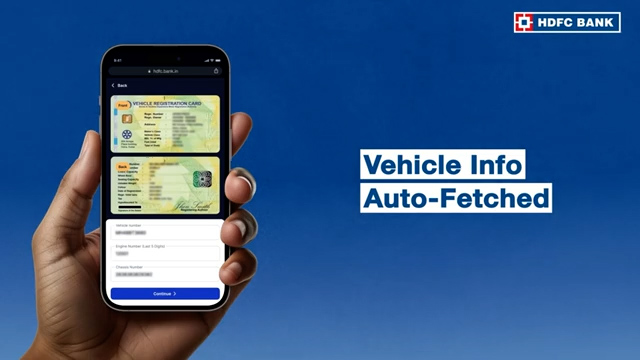
After uploading RC, the portal auto-populates vehicle details.
From your screenshot, the form shows fields like:
- Engine number (partially masked)
- Chassis number (partially masked)
- Vehicle class
- And a “Continue” button
If auto-fetch fails, the flow generally allows manual entry (as stated in your earlier script too).
Step 10: Add Vehicles (Up to 5)
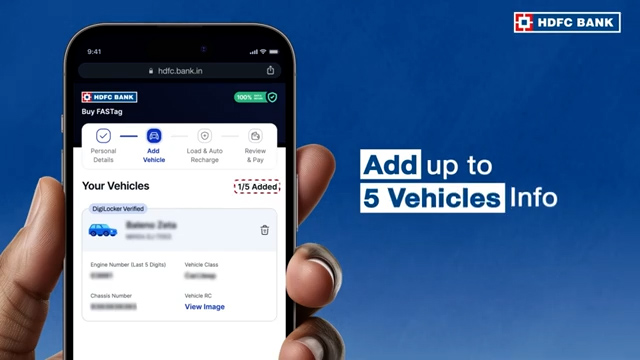
This screen clearly shows the journey navigation steps like:
- Personal Details
- Add Vehicle
- Load & Auto Recharge
- Review & Pay
It also shows:
- “1/5 Added”
- A vehicle card with a delete icon (so you can remove a vehicle)
- “View Image” for uploaded RC
So yes — you can manage multiple vehicles under one wallet (up to 5).
Step 11: Review, Load Wallet & Pay (Auto-Recharge Option)
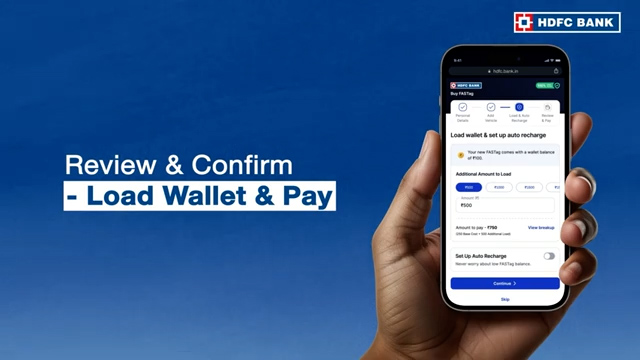
This is where payment preparation happens.
Your screenshot shows:
- “Load wallet & set up auto recharge”
- Preset amount buttons (quick select)
- “Additional amount to load” field
- An Auto Recharge toggle/setting
- A Continue button and a Skip option (visible)
So you can:
- Load the wallet once
- Or enable auto-recharge for ongoing use
Step 12: Approve Payment in Your UPI App

The portal waits for you to approve the payment request via UPI.
This is a key step: payment won’t complete until you approve it in your UPI app.
Step 13: Payment Successful + Reference Number for Tracking
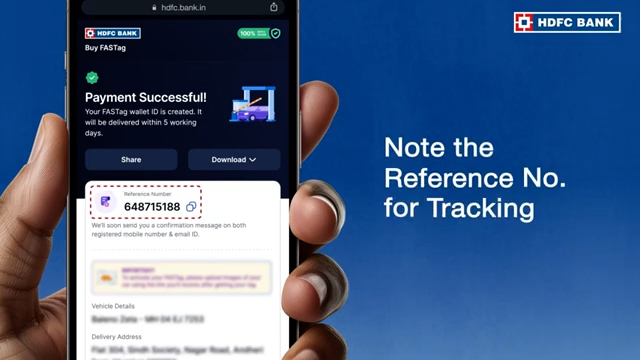
After successful payment, the portal shows:
- Payment Successful
- A clear Reference Number
- Options like Share and Download
- A note indicating a confirmation is sent to:
- Registered mobile number
- Email ID (visible in the screen)
- Vehicle details + delivery address section below
Important: Save this reference number — it’s your tracking key.
Step 14: Dispatch & Delivery Timeline
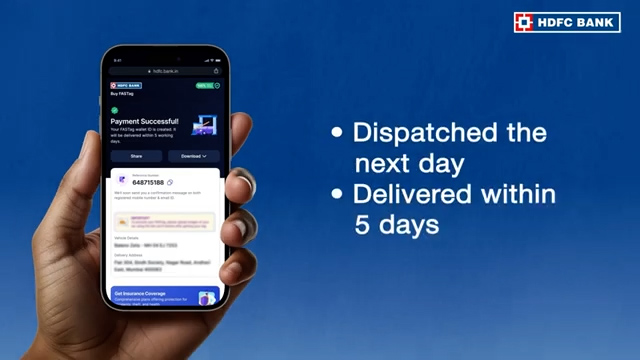
Your final screenshot states:
- Dispatched the next day
- Delivered within 5 days
So after payment, you can expect quick processing and delivery.
Quick Troubleshooting (Common Issues)
1) OTP not received
- Check network / DND settings
- Wait and retry
- Ensure the mobile number is correct
2) RC upload failing
- Use JPEG/PNG/PDF only
- Try smaller file size
- Ensure RC is readable (blur = rejection / no auto-fetch)
3) Vehicle details not auto-fetched
- Use “Enter details manually” option (your flow shows manual path exists)
4) Payment pending
- Open UPI app and approve request
- If timed out, retry payment from the portal
Final Summary (One-Glance Steps)
- Visit HDFC Bank FASTag website / scan QR
- Enter mobile number + PAN
- Verify OTP
- Existing customer: select profile → details auto-filled
- New customer: fill personal + address details
- Choose auto-fetch or manual entry
- Upload RC (JPEG/PNG/PDF)
- Vehicle info auto-fetches
- Add up to 5 vehicles
- Load wallet + set auto recharge (optional)
- Pay and approve via UPI
- Note reference number
- Dispatch next day, delivery within 5 days

Leave a comment